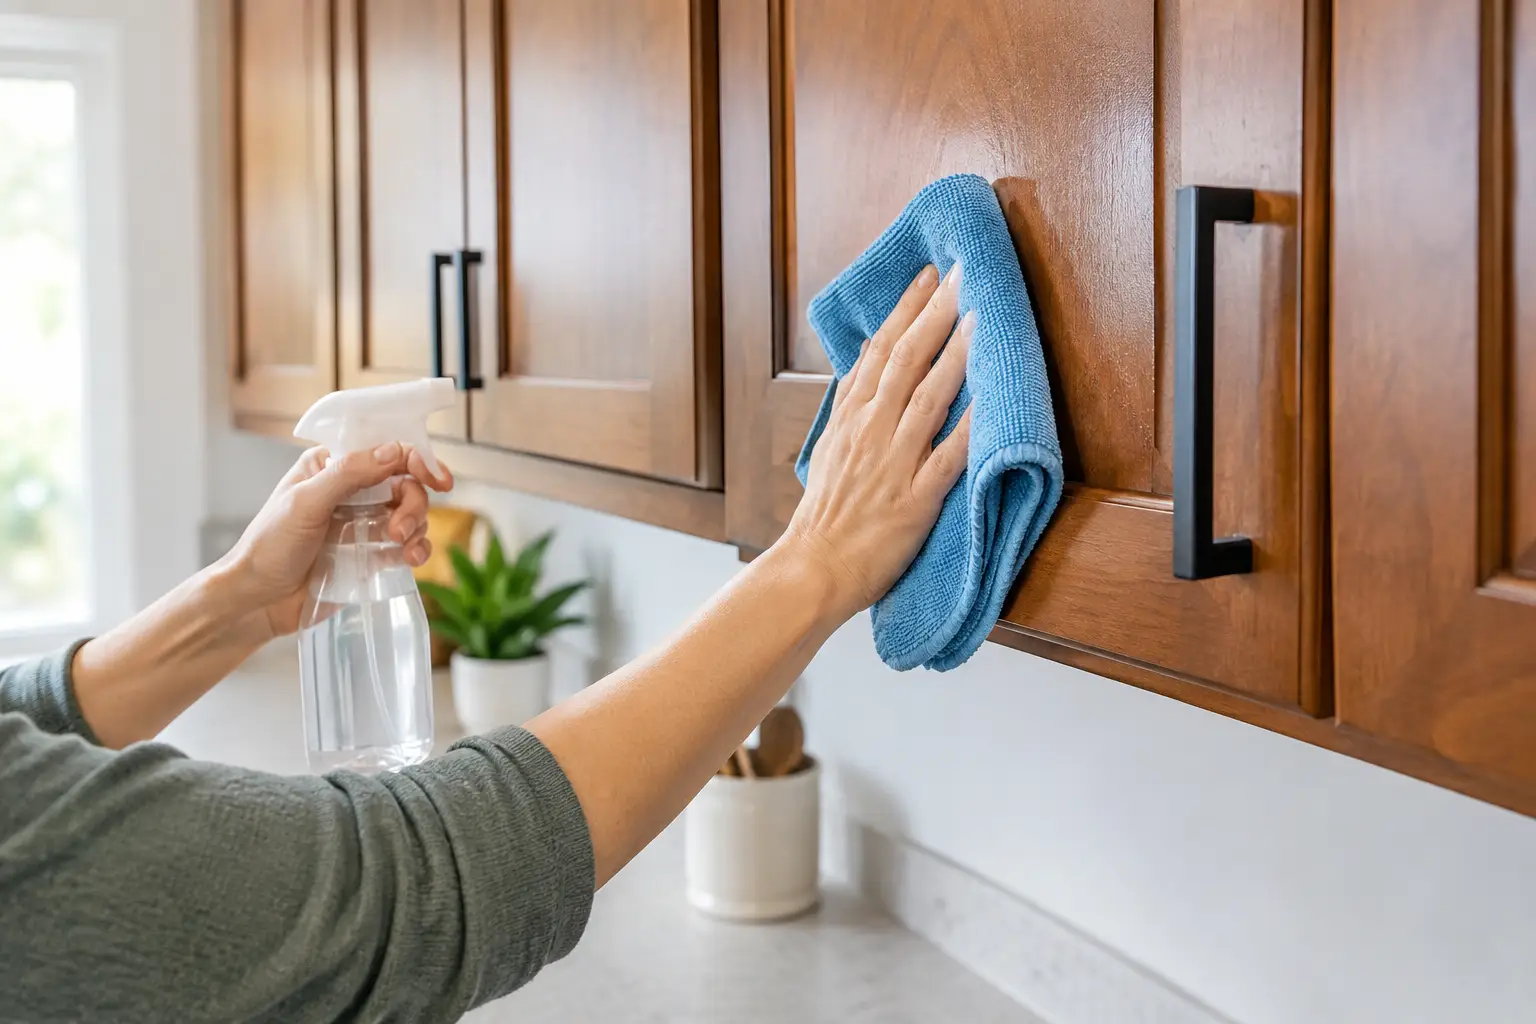
Greasy Cabinet Cleaning Without Damaging Finish

A kitchen can look tidy at first glance and still feel unclean when cabinet doors are tacky to the touch. Greasy cabinet cleaning is about more than removing a visible film. It removes the cooking oils, dust, fingerprints, and airborne residue that collect around handles, near the stove, and along upper cabinet edges. Done carefully, it helps protect the finish while making the kitchen feel fresh, spotless, and welcoming again.
In busy Toronto and GTA households, cabinet grease builds up gradually. Frying, simmering, roasting, and even using the kettle can release moisture and fine oil particles into the air. Those particles settle on nearby surfaces, then bind to dust. The result is a dull or sticky layer that ordinary wiping often spreads rather than removes.
Why Kitchen Cabinets Become Sticky
Grease is not always obvious, especially on darker wood, matte paint, or textured cabinet fronts. You may first notice it when handles feel tacky, dust sticks immediately after cleaning, or cabinet doors have uneven shine near the range. Cabinets beside or above the stove usually need the most attention, but grease can travel farther than expected in an open-concept kitchen.
Ventilation makes a meaningful difference. A range hood that vents outdoors can reduce airborne grease, while a recirculating hood may still leave fine residue behind if its filters are overdue for cleaning. Cooking habits matter too. Homes that regularly prepare fried foods, curries, bacon, or stir-fries may need focused cabinet cleaning more often than homes where the range is used lightly.
The challenge is that cabinet finishes are not all the same. A cleaner that works on a sealed laminate door can damage painted cabinetry, dry out natural wood, or leave streaks on glossy panels. The best approach is not the strongest product available. It is the mildest effective method, used with careful technique.
Greasy Cabinet Cleaning: Start With the Right Method
Before applying any solution across a whole cabinet bank, identify the material and test an inconspicuous area, such as the inside edge of a door. Check for colour transfer, dullness, swelling, or a change in sheen once the surface has dried. This small step is especially worthwhile in older homes, custom kitchens, and properties with painted or wood cabinetry.
For most sealed cabinet surfaces, warm water with a small amount of mild dish soap is a reliable first choice. The water should be warm, not hot, and the cloth should be damp rather than dripping. Excess moisture can work into seams, around hinges, and beneath veneer edges.
Use a soft microfibre cloth to wipe a small section at a time. Work from the top of the cabinet door downward so loosened residue does not run across an area you have already cleaned. Follow with a second cloth lightly dampened with clean water to remove soap residue, then dry the surface thoroughly with a clean towel.
For heavier buildup, allow the soapy cloth to rest against the greasy area for a short time rather than scrubbing harder. This gives the solution time to loosen oils. Gentle, repeated passes are safer than aggressive pressure, which can scratch a finish or burnish a matte surface into shiny patches.
What to avoid on cabinet finishes
Abrasive pads, powdered cleansers, steel wool, and harsh degreasers can cause permanent damage. Strong alkaline products may strip protective coatings or alter the appearance of painted cabinet doors. Vinegar is also not a universal answer. While it can be useful for certain household surfaces, its acidity may not be suitable for natural stone nearby, unsealed wood, or delicate finishes.
Avoid spraying cleaner directly onto cabinet doors, hinges, or hardware. Spray or apply the product to the cloth instead. This gives you better control and reduces the chance of liquid settling in joints, seams, or handle mounting holes.
A Practical Cabinet Cleaning Routine
The first full clean may take time, particularly in a family kitchen or before a move, showing, or holiday gathering. Once the grease has been removed properly, maintenance becomes much easier. Start by clearing countertops below the cabinets and protecting delicate items from drips. Remove loose crumbs and dry dust from cabinet fronts first, because wiping wet grease over dust can create a stubborn paste.
Focus on one zone at a time: upper doors near the cooktop, lower doors, drawer fronts, handles, and trim. Pay close attention to cabinet edges and the narrow groove where a door meets the frame. These places often hold the darkest buildup because they are touched frequently but missed during everyday wiping.
Hardware deserves its own care. Handles and knobs collect hand oils, food residue, and cleaning product buildup. Wipe them thoroughly with a lightly soapy cloth, then dry around the base of each piece. If hardware is heavily soiled, removal may allow for a deeper clean, but only if you can safely keep track of screws and reinstall the pieces correctly. In many cases, detailed cleaning in place is enough.
Inside cabinets generally do not require degreasing unless they are close to the range, contain cooking oils, or have experienced a spill. Empty shelves, vacuum or wipe away loose debris, then clean with a minimally damp cloth. Allow everything to dry completely before putting dishes, food containers, or shelf liners back.
Cleaning Wood, Painted, Laminate, and High-Gloss Cabinets
Material-specific care protects both appearance and value. Sealed wood cabinets should be cleaned with very little moisture and dried immediately. Never leave water sitting around joints or decorative grooves. If the wood finish looks dry after cleaning, use only a product recommended by the cabinet manufacturer or finish professional.
Painted cabinets require a gentle touch. Matte and satin paint can show rubbing marks when scrubbed too firmly, while older painted finishes may chip around handles and corners. Use mild soap, soft cloths, and light pressure. If a greasy mark does not lift, avoid escalating to a harsh solvent without confirming that it is safe for the paint.
Laminate and thermofoil cabinets are often more forgiving, but their edges can still lift if moisture gets underneath. Wipe rather than soak, and dry along seams. High-gloss cabinetry can show streaks easily, so finish with a clean, dry microfibre cloth using straight, consistent strokes.
When a DIY Clean Is Not Enough
Some cabinets have years of accumulated grease, especially in rental properties, homes with limited kitchen ventilation, or spaces that have not had a detailed clean before listing or moving. In these cases, the residue may be layered with nicotine film, renovation dust, or sticky cooking splatter. A rushed clean can leave uneven patches, missed edges, or product residue that attracts dust again.
Professional deep cleaning is useful when the kitchen needs detailed, room-by-room attention without the uncertainty of choosing products or spending an entire weekend on the work. It can also be the practical choice before a sale, move-in, move-out inspection, or gathering where the condition of the kitchen makes a strong impression.
Arvand Group Cleaning provides detailed kitchen cleaning for homeowners, tenants, landlords, and businesses across North York, Toronto, Richmond Hill, Aurora, and surrounding GTA communities. Trained and insured cleaners use appropriate tools and eco-friendly products to address buildup carefully, including the cabinet fronts, hardware, surrounding surfaces, and the areas that are often overlooked in routine cleaning.
Keep Grease From Returning So Quickly
The most effective prevention is simple consistency. Run the range hood whenever you cook, clean or replace its filters as required, and wipe fresh splatters from cabinet doors once the cooking area has cooled. A quick weekly wipe around handles and the cabinets closest to the stove prevents oils from turning into the stubborn film that requires deeper work.
After any thorough greasy cabinet cleaning, take a moment to look at the kitchen in different light. The spots that catch glare, feel sticky, or collect dust first will tell you where a small maintenance wipe will make the biggest difference. That extra care keeps the room healthier, more comfortable to use, and ready to welcome family, guests, or future occupants.


Comments